
How to Draw Cute, Stylized Characters in Procreate (Step-by-Step)
- Mar 30
- 2 min read
Updated: Mar 31
Here’s my process for sketching a cute character in Procreate!
Set Up Your Canvas
Open Procreate and create a 5000px x 3500px, 300 dpi canvas.
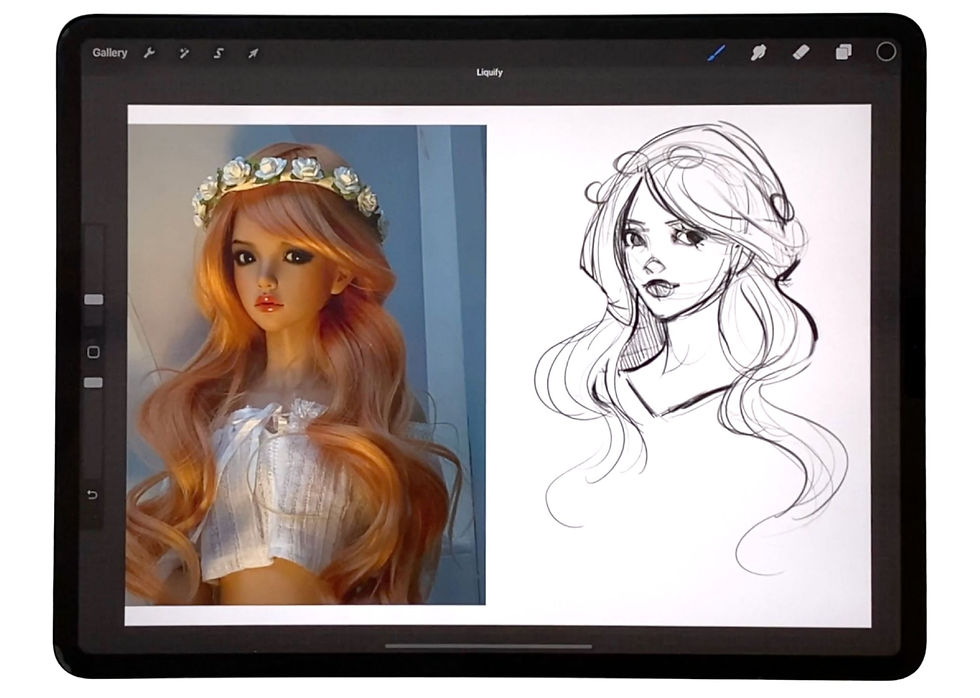
Go to Actions > Add > Insert a Photo and place a doll reference on your canvas.
Move your reference to the side and add a new layer for your sketch.

The Sketching Process
I like to work in three passes:
First pass → Use loose, simple lines and shapes and capture the head, features, and pose. Don't be perfect! Keep it loose, rough even. Capture the gesture and your initial ideas.

Second pass → Now lower the opacity of your first pass layer (maybe to 25-50%). And then place a new layer on top of the first pass. This will be your second take! On this second pass, refine the features and clean up your lines and ideas a bit.

Third pass → Now lower the opacity of your second layer and add a new layer on top of the others. This is where you'll go in with cleaner, more considered line work. (And you'll have the confidence to do it because you've worked out your idea so thoroughly!) In this third and final pass, add details and finalize the lineart so it's ready for color!
Here's the final, cleaned-up line art:

Want to see the FULL process in action & get my favorite Procreate sketching brush, reference photos, and more?✨
It’s designed to help you skip the confusion and start creating beautiful character portraits. :)
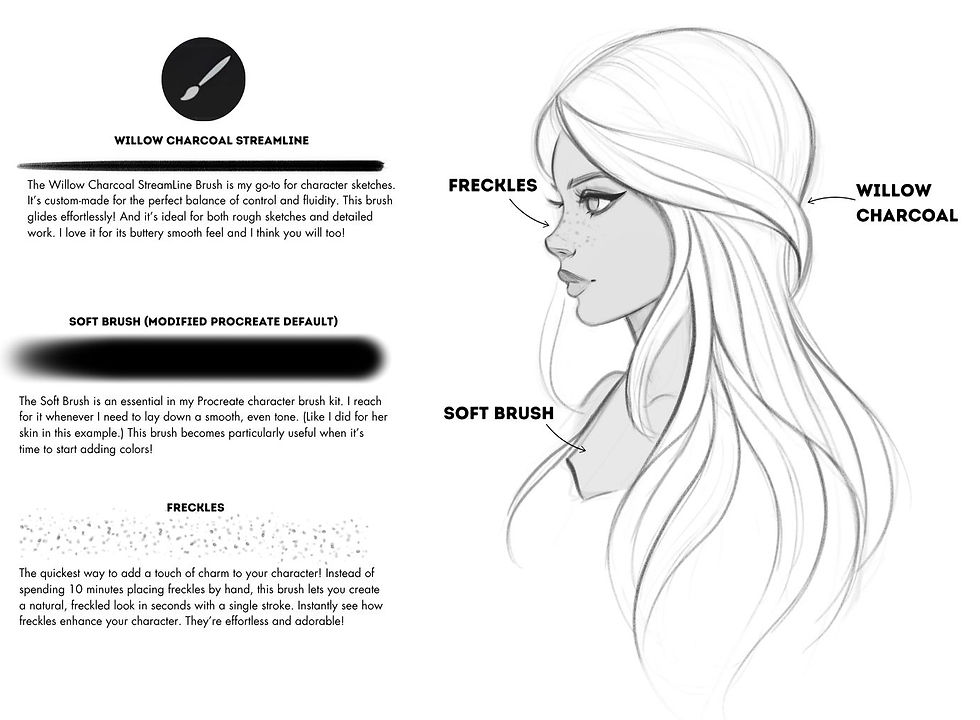
Here's a look at the simple trio of brushes you'll get when you grab the kit:
This is the clear, repeatable process I use every time I draw characters in Procreate.
Consider it your shortcut to drawing stylized characters in Procreate with confidence.
